Edit the Layout and App Config
This tutorial assumes you are using windows and can run the Universal Windows Version of VertiGIS Studio Mobile.
Many changes to VertiGIS Studio Mobile will require editing the layout and app config for your custom application. The app config (app.json) and layout files (layout-*.xml) are contained in the shared platform agnostic project. Each platform specific project links to these files as an asset or a reference, so editing the files in the platform agnostic project will change them for all platforms. Check out layout and app config to learn more about configuring VertiGIS Studio Mobile with these files.
Prerequisites
Check out and setup the VertiGIS Studio Mobile SDK Quickstart project.
Simple Layout with a Map
Replace the layout in the layout-large.xml file and the app config in the app.json file with the content below.
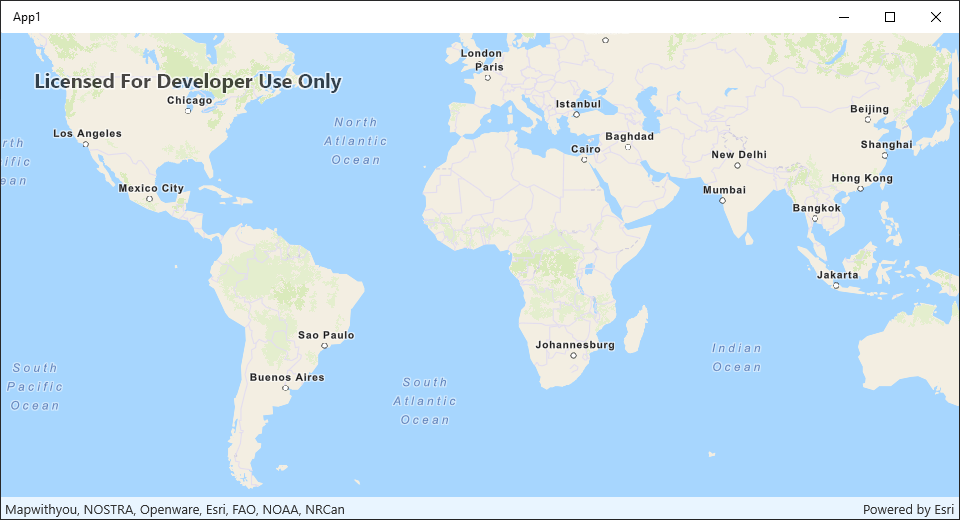
Set App1.UWP as your startup project. Build and run VertiGIS Studio Mobile and ensure only a plain map appears.
- Layout
- App Config
- UI
<?xml version="1.0" encoding="utf-8" ?>
<layout
    xmlns="https://geocortex.com/layout/v1"
    xmlns:gxm="https://geocortex.com/layout/mobile/v1"
    xmlns:xsi="http://www.w3.org/2001/XMLSchema-instance"
    xsi:schemaLocation="https://geocortex.com/layout/v1 ../../ViewerSpec/layout/layout-mobile.xsd">
	<map id="map1"></map>
</layout>
{
    "$schema": "..\\..\\ViewerFramework\\app-config\\mobile\\mobile-app-config.schema.json",
    "schemaVersion": "1.0",
    "items": [
        {
            "id": "desktop-layout",
            "$type": "layout",
            "url": "resource://layout-large.xml",
            "tags": ["medium", "large"]
        }
    ]
}

Add Buttons
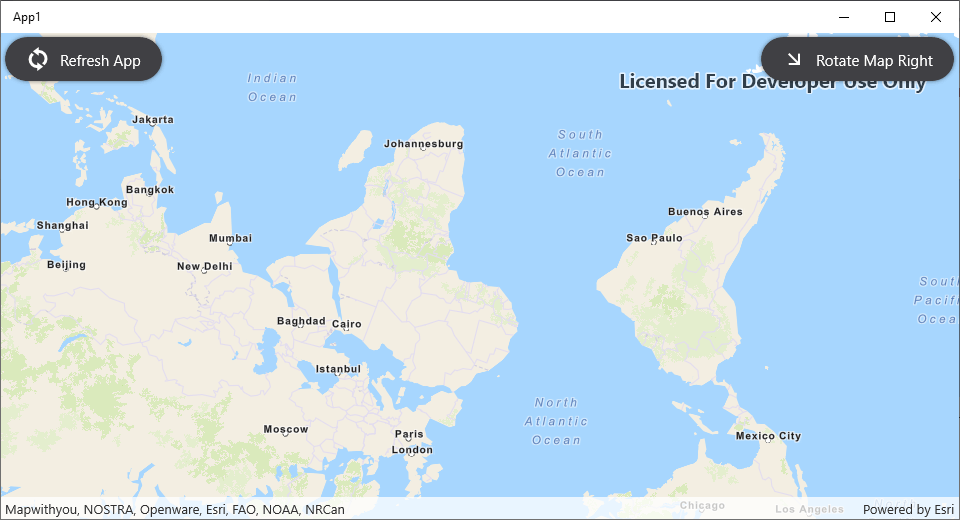
We can now add some buttons and populate them with some simple commands.
- Add two
<button>components to your layout. - Link the buttons to commands defined in the app config.
- Layout
- App Config
- UI
<?xml version="1.0" encoding="utf-8" ?>
<layout
    xmlns="https://geocortex.com/layout/v1"
    xmlns:gxm="https://geocortex.com/layout/mobile/v1"
    xmlns:xsi="http://www.w3.org/2001/XMLSchema-instance"
    xsi:schemaLocation="https://geocortex.com/layout/v1 ../../ViewerSpec/layout/layout-mobile.xsd">
	<map id="map1" >
		<button id="rotate-button" config="rotate-button" style="map-widget" show-title="true" margin="0.3" slot="top-right"/>
		<button id="refresh-button" config="refresh-button" style="map-widget" show-title="true" margin="0.3" slot="top-left"/>
	</map>
</layout>
{
    "$schema": "..\\..\\ViewerFramework\\app-config\\mobile\\mobile-app-config.schema.json",
    "schemaVersion": "1.0",
    "items": [
        {
            "id": "desktop-layout",
            "$type": "layout",
            "url": "resource://layout-large.xml",
            "tags": ["medium", "large"]
        },
        {
            "id": "rotate-button",
            "iconId": "arrow-bottom-right",
            "title": "Rotate Map Right",
            "action": {
                "name": "map.rotate-by",
                "arguments": {
                    "rotation": "40"
                }
            },
            "$type": "menu-item"
        },
        {
            "id": "refresh-button",
            "iconId": "refresh",
            "title": "Refresh App",
            "action": "app.refresh",
            "$type": "menu-item"
        }
    ]
}

You've now accomplished the basics of building a VertiGIS Studio Mobile Application using layout and app config. By using components in the layout to compose the visual structure of your application, and app config to describe behavior, you can create highly customized interfaces with custom behavior.
Relevant SDK Samples
Check out the relevant VertiGIS Studio Mobile SDK Samples:
Next Steps
Create a Custom Component
Learn how to create a custom component with the SDK
Deploy your Custom Layout and App Config
Deploy your custom layout and app config to a VertiGIS Studio Mobile Application
Learn More About Layout and App Config
Check out the concepts to learn more about the layout and app config
Explore the Tutorials
Check out the the various tutorials on configuring VertiGIS Studio Mobile