Configure Button Click Behavior
This article will guide you through how to add a button to the layout and configure it to run an action through the app config.
It's possible to configure a button with a command in the VertiGIS Studio Web Designer. However, this tutorial demonstrates the concept of configuring behaviors using the app config directly.
Prerequisites
- Follow along by setting up the VertiGIS Studio Web SDK and editing the minimal layout and app config provided.
- Check out the deployment instructions to learn about how to deploy layout and app config to an application.
Add a Button to the Layout
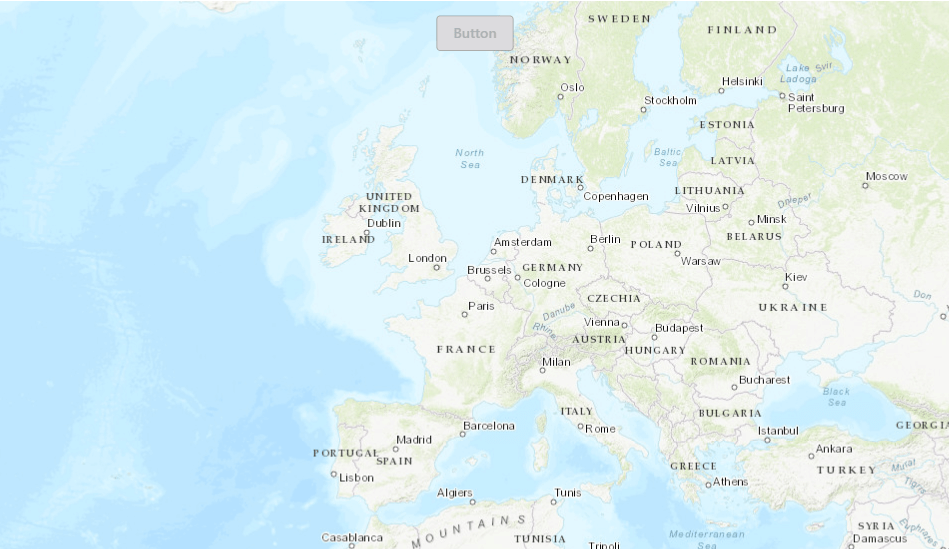
Let's create a layout with two components; a map, and a button positioned on the map.
- Layout
- UI
<?xml version="1.0" encoding="UTF-8"?>
<layout xmlns="https://geocortex.com/layout/v1" >
  <map>
    <button slot="top-center"/>
  </map>
</layout>
Link the Button to a Command in App Config
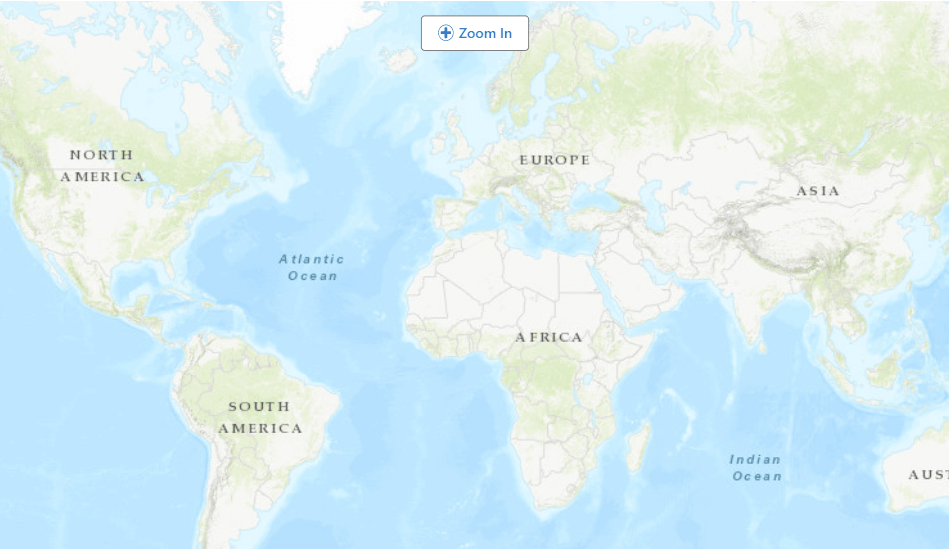
Link the button to the layout using a menu-item in app config, and configure it to run a basic command, zoom-in.
- Layout
- App Config
- UI
<?xml version="1.0" encoding="UTF-8"?>
<layout xmlns="https://geocortex.com/layout/v1" >
  <map>
    <button config="button-config" slot="top-center"/>
  </map>
</layout>
{
    "schemaVersion": "1.0",
    "items": [
        {
            "$type": "menu-item",
            "id": "button-config",
            "iconId": "zoom-in",
            "title": "Zoom In",
            "action": "map.zoom-in"
        }
    ]
}
Pass Arguments to the Command
If the command you want to run takes arguments, you can pass them through the app config.
Check out the commands and operations reference for more info on passing arguments.
- App Config
- UI
{
    "schemaVersion": "1.0",
    "items": [
        {
            "id": "button-config",
            "iconId": "info",
            "title": "Alert",
            "action": {
                "name": "ui.alert",
                "arguments": {
                    "message": "Message from config."
                }
            },
            "$type": "menu-item"
        }
    ]
}

Next Steps
Commands, Operations, and Events API
Check out the available commands and operations
Change Default Behavior with Commands and Operations
Change built-in behavior or add new behavior using app config and layout