Lifecycle Hooks for Starting Workflows
This article will tell you about common lifecycle hooks within Web and when you should use them for starting Workflows.
Services > App > Events >
Application Initializing
Event gets executed when Web begins to initialize. Commands or Workflows used here must not contain blocking actions such as alerts or user-facing forms; these will prevent the application from loading. This can be useful for launching Workflows that are going to impact the initial state of the application (such as initial layout).
Application Initialized
This event gets executed when Web has initialized. Commands or Workflows used here must not contain blocking actions such as alerts or user-facing forms; these will prevent the application from loading in Designer.
Components > Map > Events >
Map Initialized
This is an event that gets triggered when the map is initialized. The map is initialized when it is loaded for the first time, a user signs in or out, or in Mobile when a map area is activated or deactivated. This can be useful for displaying a Workflow that presents UI such as a form or for a Workflow that depends upon map data.
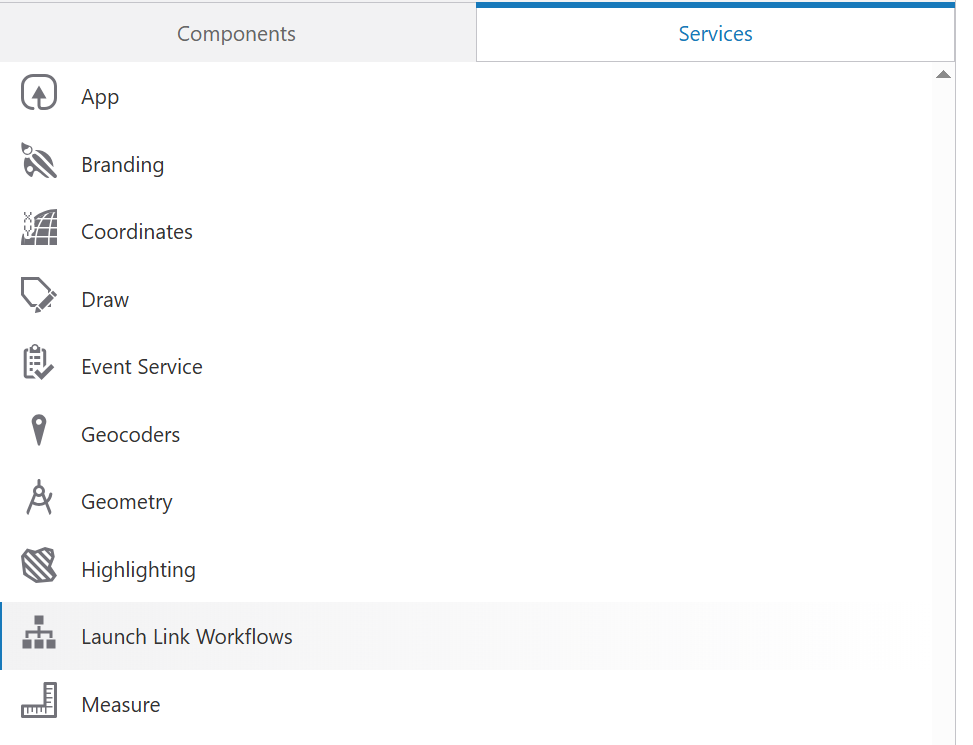
Services > Launch Link Workflows
Using the Launch Link service you can add and remove Workflows to the app that can be optionally specified and run by a URL parameter. The launch link Workflow is run at the same time as the Map Initialized Event. This can be useful for passing in information such as an asset id and then using a Workflow to have Web start with that asset already centered and selected.
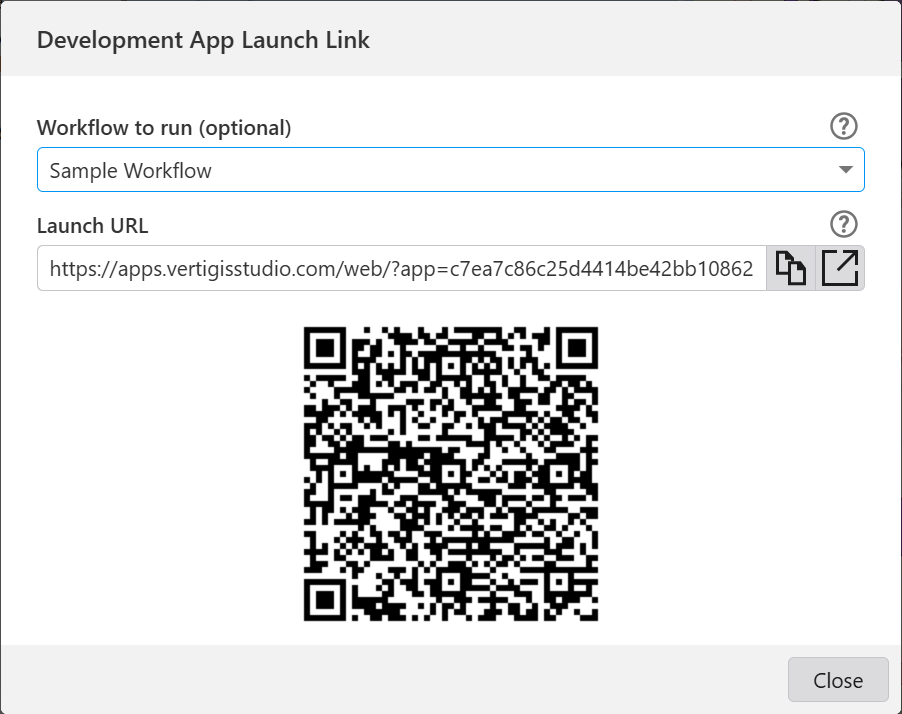
You can generate these URLs via Web Designer's App Launch Link Dialog. (Deploy > Development > 3 Dot Menu > Get Links)
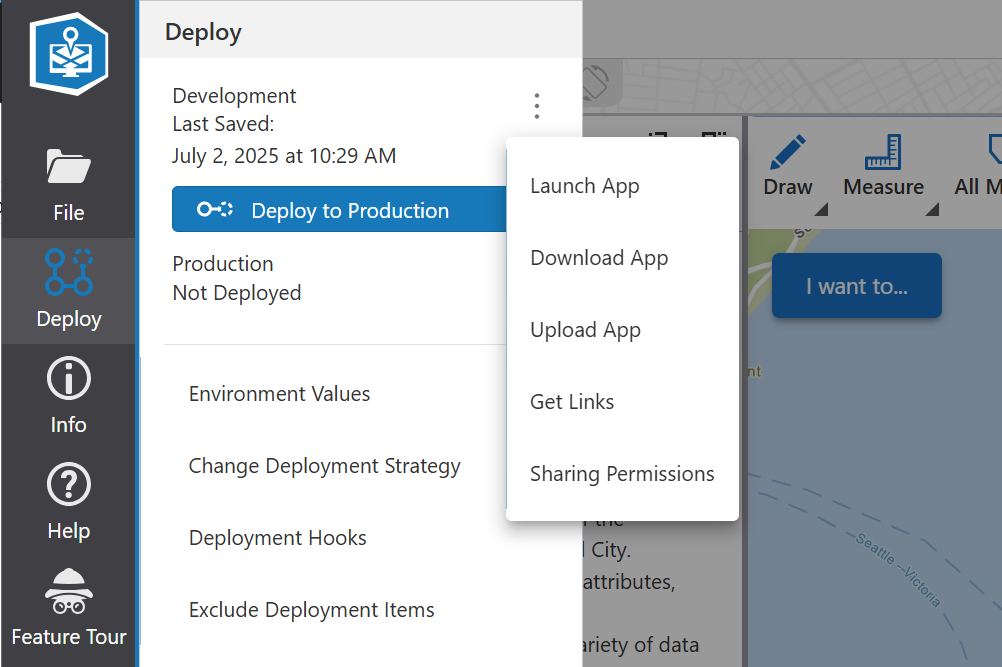
Use the generated link to run the specified workflow at startup.
Event Service
You can configure a Workflow to run on any VertiGIS Studio Web Event by registering an event listener in the Event service.
Different ways to launch a new Workflow. When to use which and why?
Run Workflow Command (workflow.run)
Used to start a Workflow on user activity, often executed from IWTM, menu, or button component. This is the most common way to launch a Workflow; you will generally use a variant of this command unless you need to utilize a result from the Workflow.
Variants: Run Asynchronously, use this flag if you want the command to return immediately and not wait on the Workflow to finish. This may be useful if your workflow.run is in a command chain that you want to continue to completion without waiting for the Workflow to finish.
Evaluate Workflow Operation (workflow.evaluate)
Workflows can be configured to return a result on completion. If you want to use this value in Web you need to configure the Workflow to be run as an operation. This is accomplished by manually configuring the command chain in App Designer's commands control in advanced mode, and changing the command name from workflow.run to workflow.evaluate. Note that Mobile does not support workflow.evaluate and its implementation of workflow.run returns a result.
[
    {
        "name": "workflow.evaluate",
        "arguments": {
          ...
        }
    }
]
ui.activate Command Workflow Component
Another common pattern for launching a Workflow is to configure the Workflow in a dedicated form (see different ways to control where the Workflow form shows up), and to set it as initially hidden. You can then configure the "Show Component" tool (ui.activate command) via any other method (for example a new item in the I Want to menu). Once run the form should activate and run the configured Workflow.
Different Ways to Control Where Workflow Forms Show Up
Dedicated Workflow form
Workflow forms components allow you to configure an optional persistent Workflow. This Workflow will be launched when the form is activated, and the form will be deactivated when the Workflow completes. This form will only be used for the dedicated Workflow and not considered for displaying any other Workflow form. This can allow you to use a Workflow form and have it appear as an always-running integrated part of a Web UI. Note this behavior is not consistent with Mobile where forms with a persistent Workflow can still be targeted by other Workflows.

Workflow Target
When you configure a Workflow to be executed as an action in a button or menu item you are given the choice of target container. By default the Target is set to ‘Auto’ which will select the first Workflow form container in the layout that does not have a persistent Workflow.
Optionally you can target any other layout components that supports children, including tabs, panels, stacks, etc.
WebMaps in Workflow
If you want to interact with the WebMap in your Web application, this is easily accomplished using Workflow's Get Map activity.
This activity gives you access to both the Esri map or scene, Esri view and the VertiGIS Web MapExtension object that wraps the map and provides access to VertiGIS Web specific functionality.
For example, in Workflow:
=map1.extension
=map1.view
=map1.map
Esri Graphics and Web Features
Commonly you may write a Workflow that accepts an input of Web features and want to work with Esri graphics or have a Workflow that produces Graphics and want Web to interact with them (for example display in the Results List or Table of Feature Summary). Web exposes operations to handle these conversions:
Graphic to Feature
This can be accomplished using Web's results.from-graphics operation.
Feature to Graphic
This can be accomplished using Web's results.to-graphics operation.
These two operations allow you convert between Graphics and Features easily, but when you are converting from a Graphic that was created in Workflow you will need to provide Web with some additional information in order to associate the new Feature with the correct Web FeatureSource (Layer, Sublayer, etc.). This will allow Web to properly resolve the correct Popup Configuration, Related Records etc.
In order to accomplish this you will need to specify the map and layer to the results.from-graphics operation.
Operation Name: results.from-graphics
{
    graphics: [g1, g2, …],
    layer: $layer1.layer,
    map: $map1.map.map,
}
Passing Application Items to Workflow
It is easy to pass Web items to Workflows using Web's model item:// URI. You can obtain this from App Designer by clicking on the component's setting Cog in App Designer, and copying the model URI from the popup dialog.
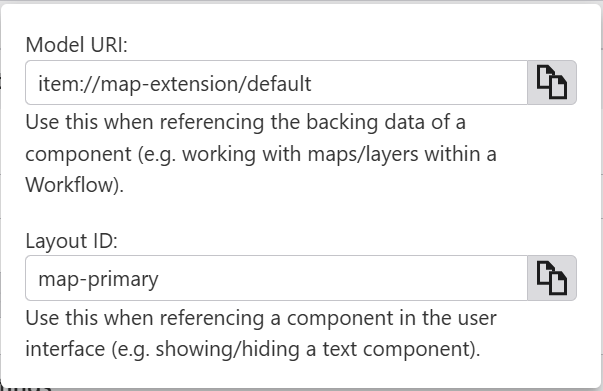
You can then use this value when configuring your Workflows input arguments.
[
  {
    "name": "workflow.run",
    "arguments": {
      "commandArgumentInput": "context",
      "inputs": {
        "map": "item://map-extension/default"
      }
      ...
    }
  }
]